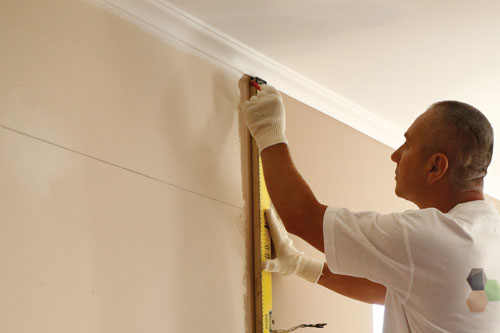
Make sure that the surface of the wall is clean. Square off the wall according to the size of the panels.
Step 2.
Prepare the tool and material as seen on the pictures (extruding gun, solvent free contact adhesive). Apply the adhesive on 4 corners and middle on the back of panel. In all cases insert the panels exactly following the instructions of the particular adhesive.
Step 3.
Apply the first panel on the lined top middle position, then go ahead with the neighbour panels by the same way. When applying on the wall press a little bit, around 15 seconds – depends on the type of adhesive – to make sure of no gap between. When the size of the wall won’t match the panels, cut the panels by knife as need.
Product cutting
Measure and draw the line by pencil.
Cut by knife and ruler.
After cutting.
Tips & advices:
The installation of the panels can be started from anywhere, but it’s advisable to start from the bottom or from the top. Panels can be placed from center to edge, but also can start from one edge to the other.
When there is electric outlet, measure the position on the panel and cut. Then put the inner box in the hole, cover the outlet.
In case of the panel was pressured, due to the memory foam it will recover to it’s original form. The process takes as much time as the product had been under pressure. For example if the panel was under pressure for 5 minutes, it will take 5 minutes to return to it’s original shape.
For lime wall, please paint with a coat of latex.
On the back of the panels arrow shows the recommended placing direction.
During the panels installation it is recommended to work in thread gloves to protect the product.